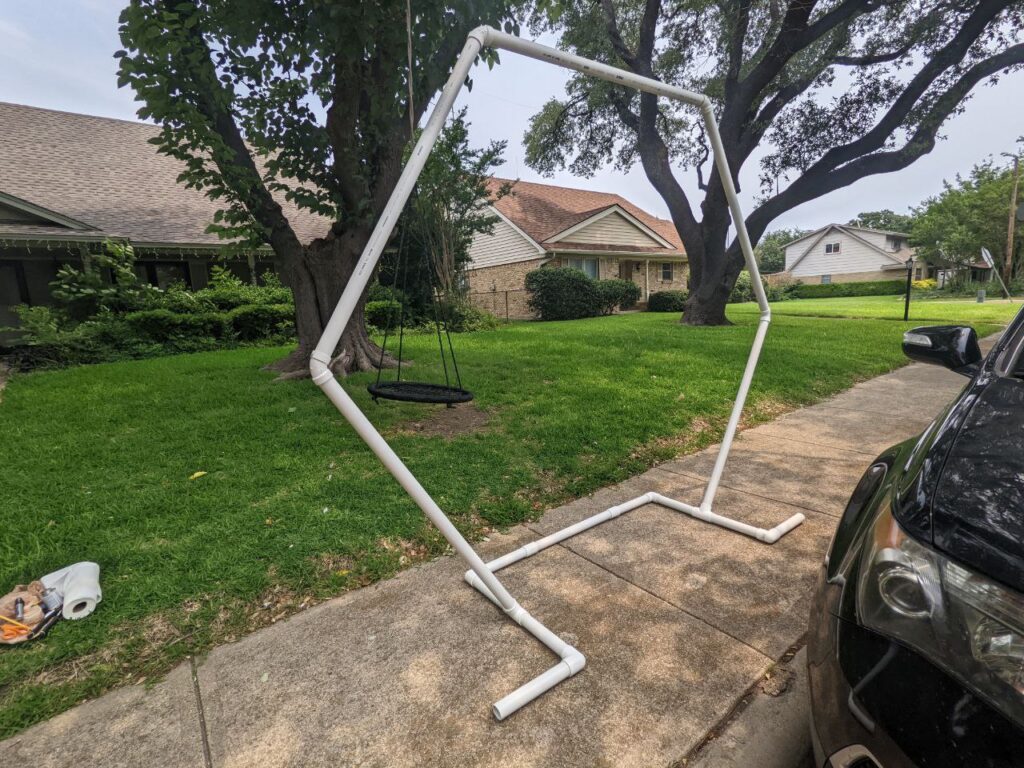
PVC Hexagon “Arch”

Supplies:
3 – 10’ PVC Pipes, 1.5” diameter (HD Link)
4 – 60 degree elbows, 1.5” diameter (HD Link)
4 – 90 degree elbows, 1.5” diameter (HD Link)
2 – Tee Connectors, 1.5” diameter (HD Link)
2 – End Caps, 1.5” diameter (HD Link)
PVC one-step glue or Primer/Cement combination (HD Link)
Hacksaw (Home Depot Link)
Sharpie to mark assembled angles
Approximate Cost at Home Depot in 2022: $100 plus tax if you buy everything listed above. It would be less than that if you already have the PVC glue or a hacksaw/other cutting instrument. It will be a little bit more if you decide to paint it.
NOTE: As always, please use caution in cutting, assembling, and gluing this structure. We recommend having *at least* one helper to stabilize and hold pieces as needed.
Printable PDF Instructions Linked Here
(Or keep scrolling for detailed instructions below)
Instructions:
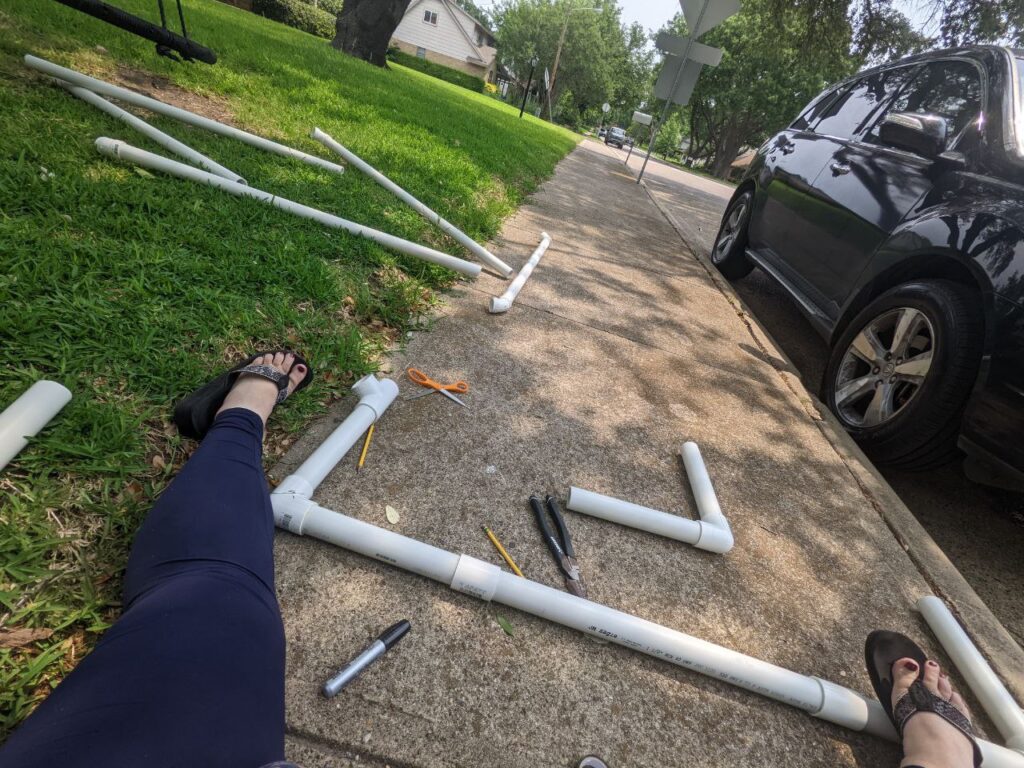
- With the hacksaw, cut each 10′ PVC pipe to the following lengths: 4’, 4’, 1’, 1’.
- Assemble – without gluing – to establish the correct angles for all the elbows (if you will not be painting, this is also a good time to rotate any printing towards the bottom or back of the structure); twist and push as you assemble to create a semi-secure ‘dry’ connection. CAUTION: These pieces are *not* completely stable and can come apart quite easily until they are glued. Please have your helper(s) hold each side as you are assembling and have plenty of space to work, so that if a piece falls, it won’t damage anything.
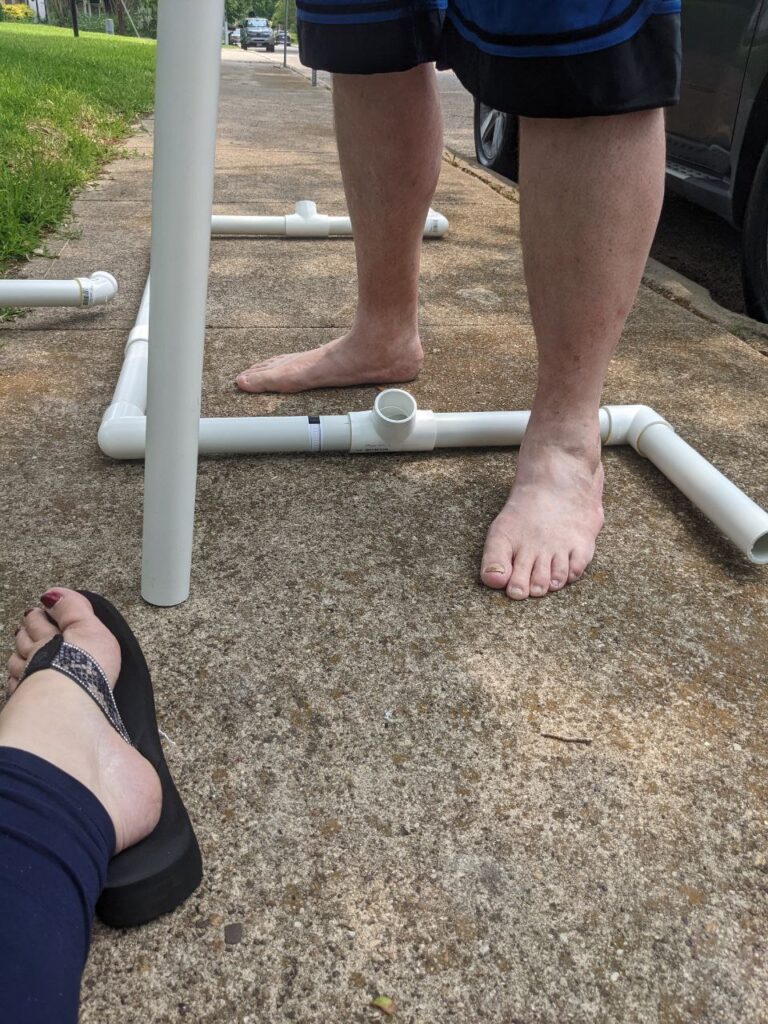
- For the base, you will put together in the following order: Cap, 1’ PVC, 90 degree elbow, 1’ PVC, Tee Connector, 1’ PVC, 90 degree elbow, 4’ PVC, 90 degree elbow, 1’ PVC, Tee Connector, 1’ PVC, 90 degree elbow, 1’ PVC, Cap. If the 1’ capped pieces are facing in towards each other, it will look kind of like a letter C, or you can face those capped pieces out like in our pictures.
- To create the hexagon, you will put a 4’ pipe into each of the Tee Connectors in the base, then put a 60 degree elbow on each, another two 4’ pipes, two more 60 degree elbows, and then the final top 4’ section to connect the sides. When it is assembled, have your helpers hold each side while you move around and adjust the elbows/angles carefully, so the structure is straight.
- Make a small tick mark with your Sharpie at each connection between a pipe and elbow/tee (i.e. mark where they meet on both pieces, so that you can match them up later as you are gluing).
- Carefully take the pieces apart, placing them on the ground ‘in order’.
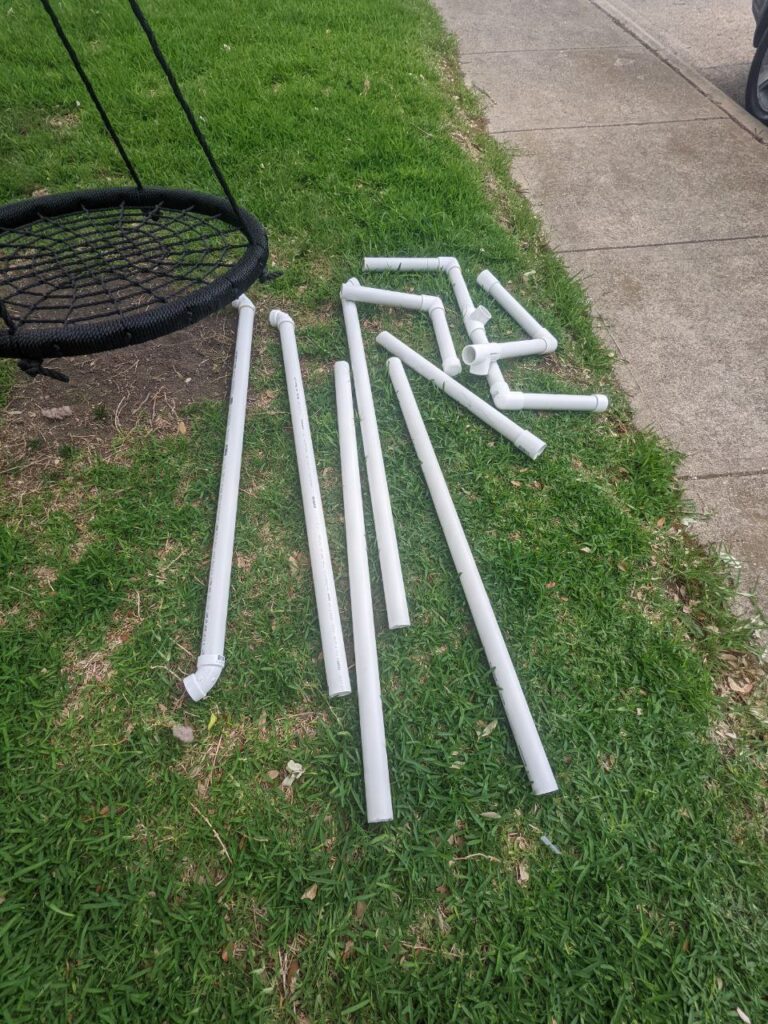
- The next part will be up to you. Our troop wanted the option to disassemble the structure, so that we could store it more easily and potentially use it in other locations for an arch/entrance or as a photo backdrop with different kinds of decorations, so we chose to only glue certain pieces together as we will explain below. If you would prefer to leave it assembled permanently (over 7′ tall), glue all of the pieces together in order, starting with the base and then the hexagon on top of that.
- The PVC glue that I have linked above is a “one-step” product which does not need a separate primer. (Video Link) *For your safety, only use PVC glue in a fully ventilated area.* The basic process is to apply glue in a thin, even layer to the outside of the PVC pipe from the edge to about 1” down and rest it carefully where the glue isn’t touching another surface. Without dipping the applicator back in the glue, apply a thin, even layer inside of the elbow/connector. As quickly as you can, push and twist the two pieces together to align your Sharpie tick marks and hold firmly for about 20 seconds. Remove any excess glue if possible. IMPORTANT: If you do make a mistake, take them apart *IMMEDIATELY*, because PVC glue sets very quickly. If you are using two separate products, follow those instructions for gluing the pieces together. (Note: We do not need for these connections to be water-tight, but we do want the glued sections to be secure for stability.)
- Top cross-piece: 60 degree elbow, 4’ pipe, 60 degree elbow
- 2 – top side pieces: 4’ pipe, 60 degree elbow
- 2 – bottom side pieces: no glue/connectors
- 2 – sides of the base: Cap, 1’ pipe, 90 degree elbow, 1’ pipe, Tee Connector (lining up the Sharpie tick marks for this piece is the most crucial, because it creates the angle to assemble the hexagon), 1’ pipe, 90 degree elbow
- Base cross piece: no glue/connectors
- Your disassembled pieces may look a little bit different than ours, because we went through a little bit of trial and error on the base shape and ended up connecting a few pieces to form the 4’ base cross piece. (Originally, we were trying to make it stable *without* a piece connecting the bottom, so that there would be no piece to trip over when people walk through the arch, but we found that the structure was not stable enough without a connecting piece across the bottom.)

Instructions provided by American Heritage Girls Troop TX0147
in Dallas, Texas
Printable PDF Instructions Linked Here